It's hard not to want to bake fruit-based desserts in the summer. All the fruits at the farmer's market just look so beautiful. Not that apples are really in season right now, but I've wanted to make this tart for a while. I think it is very pretty along the same lines as the impossible nectarine tart, but with a fraction of the effort.
 |
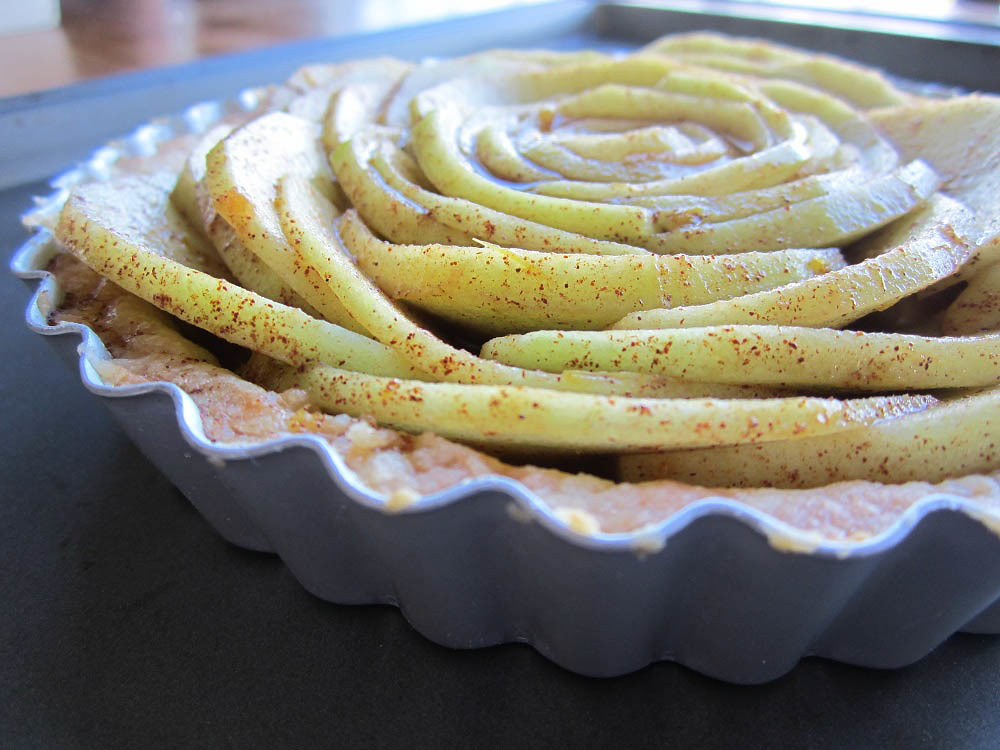
| The raw, spiced apple slices are delicious all by themselves. |
The 6" tart pan called for only a half batch of dough, but I made enough for a 9" because I pretty much suck at using the right amount of dough. My circles aren't good, so I need extra dough to account for the sort of misshapen oblong clouds that I roll, plus extra for eating. If you're good at that sort of thing, you'll be able to freeze half a batch of dough to make more little tarts later, rather than throw a way the leftovers in a fit of willpower when you find yourself sneaking back to the fridge for extra samples of raw dough.
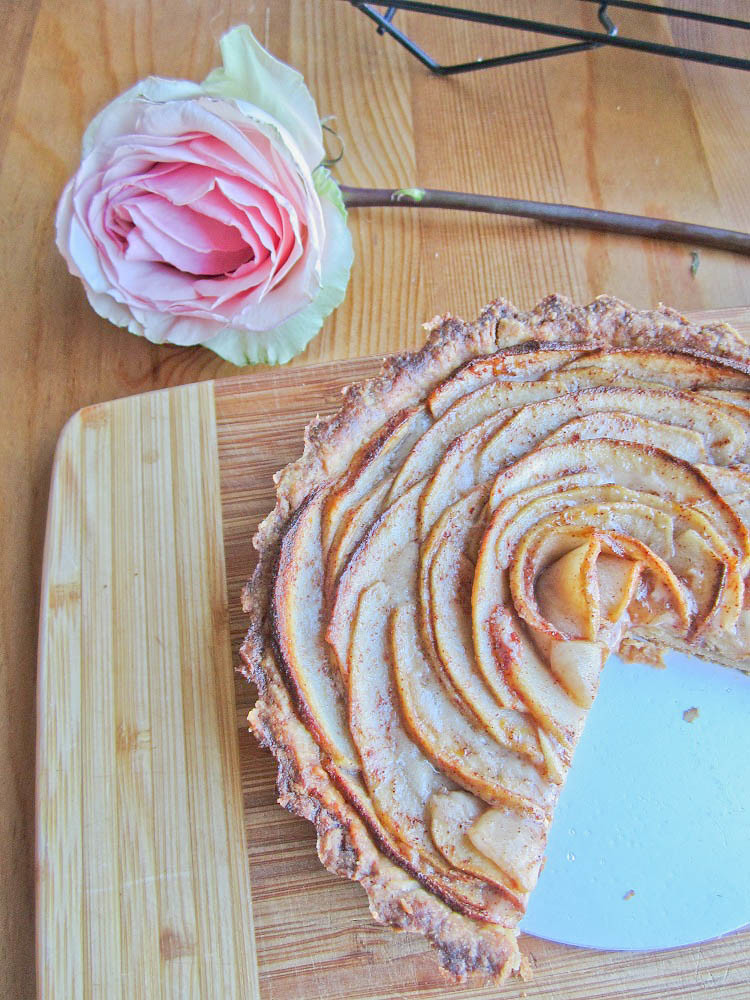
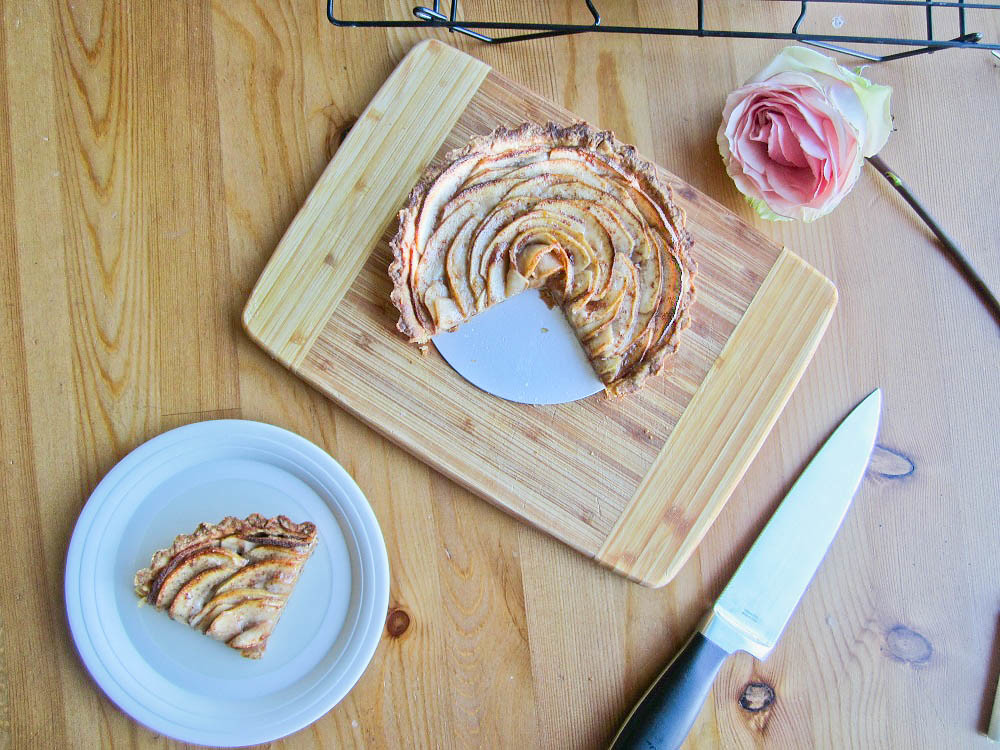
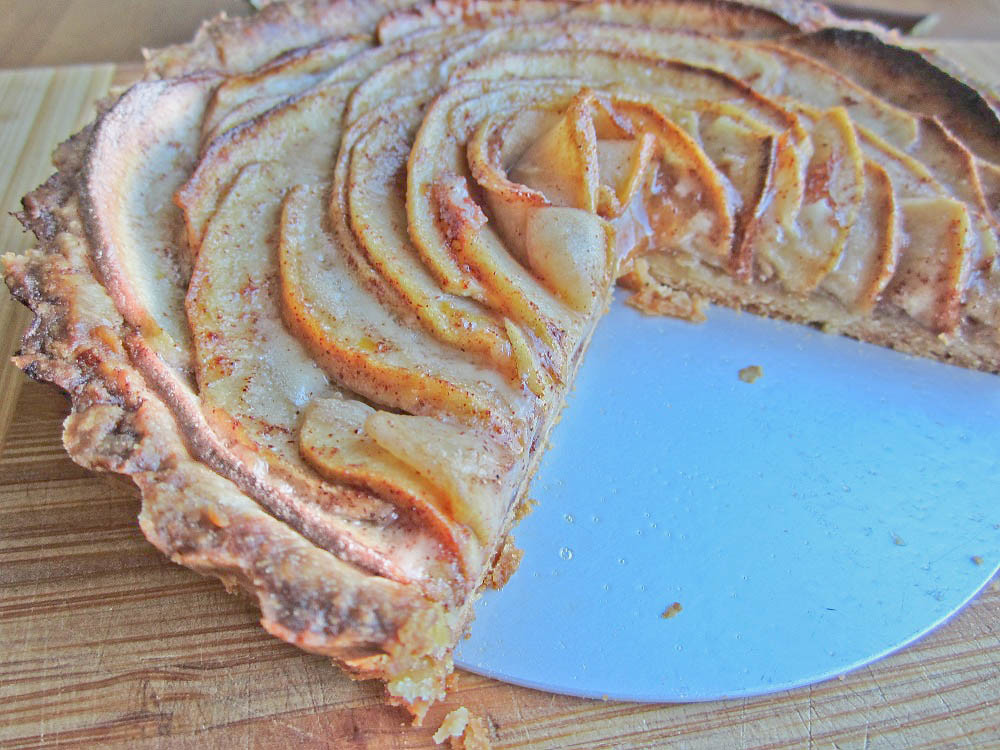
The tart got a bit singed along the edges, so you might want to add tin foil at some point. Maybe start with tin foil and then remove it. Or the reverse. I don't know much about those tin foil tricks. I also clearly don't know much about styling photos--brown on brown on brown didn't really capture the apple-y deliciousness. J suggested adding the rose because its structure echoes the structure of the tart. I thought that was a beautiful sentiment, but my best attempt was just to toss the rose in. I like to imagine that I inherited some of my grandfather's artistic talent, but in practice that doesn't seem to be the reality.
This recipe really is easy as pie, so to speak. The pâte sucrée dough is exactly traditional, the same recipe you'll see in every other place that asks for a pâte sucrée. As I've said in the past, try to plan ahead enough that you can leave the dough to chill overnight; a long chilling time really does make pastry dough easier to work with.
Pâte Sucrée Recipe
(enough for one 9" tart)
You'll need:
360 g (1.5 cups) AP flour
114 g (1/2 cup) butter, chopped into bits
1/2 tsp salt
50 g (1/4 cup plus one tsp) sugar
1 egg yolk
Whisk together the flour and salt, then dump the butter into the salty flour and toss the whole thing in the freezer for a few minutes. You want to keep everything cold so that you don't melt the butter--I remember my mum running her hands under cold water. Use your fingers to squish the butter into the flour. Various methods recommend using a food processor or various utensils, but I've always found that hands are quick and produce the best results. You're trying to get little sheets of butter (end result: flaky), so try using a sort of snapping motion with your fingers to squish the bits of butter into flour-covered sheets. Move lightly and quickly, and stop when things are crumbly and there are still some decent chunks of butter. I suppose I should have taken a photo of this bit.
Add the sugar and rub that in lightly with your hands, too, then dump in the egg yolk and try to mix it through as quickly as you can with a light touch. Turn the crumbly dough out onto the counter and give it two or three kneads until it's JUST holding together, then make the dough into a disk, wrap it in plastic, and leave it in the fridge overnight. If you're in a very, very dry place you might need to add a teeny bit of water (add teaspoons at a time) to get the dough to hold together, but try to avoid this and remember that a good chill will solve some of your crumble problems.
Once I rolled out my pie shell, I pre-baked it in a 350F oven for about 10-15 minutes until just golden and then let it cool completely. I can't remember if I used pie weights. Probably for the first ten minutes or so. That means that I lined the pie shell with tin foil and dumped in a cup of beans that I keep around in a mini mason jar for that purpose. I've heard of a trick that involves brushing your pie shell with egg white immediately after it comes out of the oven in order to seal it and keep it crisp, but I've yet to try that. You probably don't have to pre-bake your pie shell at all, I'm just always nervous about soggy crusts.
Apple Tart Recipe
You'll need:
1-2 apples (it's only a 6" tart pan. Add two more if you're going for a 9".)
~1 tbsp brown sugar
~1 tbsp maple syrup
~1/2 tbsp corn starch
~1/4 tsp vanilla
~1/2 tsp lemon
~a pinch of ground ginger
~1 tsp cinnamon
Apricot Jam?
Peel your apples and slice them into moons, and then toss them together in a bowl with whatever you think will be delicious. You'll definitely need a bit of sugar to help them macerate--I used maple syrup because we had some. You can use flour instead of corn starch if you choose. I used corn starch to avoid extra gluten, which was stupid because the pastry was wheat. Once your apples have sat about in that mixture for a bit, layer them in circles in the pie shell, then bake the whole thing at 350F for about 45 minutes. I have a vague memory of deciding that the apples weren't as shiny or browned as I wanted them to be, and brushing the top with a mixture of cream and maple syrup near the end of baking. You could try that, but if I'd had it I would have used apricot jam instead, which I've seen used to great effect (and probably great taste) on many apple tarts.
 |
| Nomnomnomnom |


No comments:
Post a Comment